|
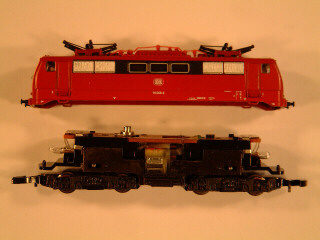
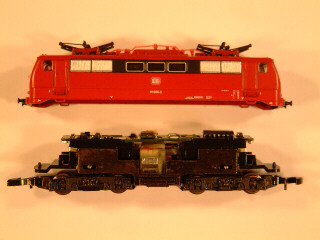
Mounting Example of a Locomotive Decoder:
The installation is shown for the LD26306 decoder. The installation of all other decoder types is as simple as shown in the example.
Please keep in mind, that the decoder can only fulfil its functions in a perfectly working locomotive. If the locomotive doesnt even work perfectly in the analog mode please fix these errors first, before installing the locomotive decoder.
During the installation the locomotive must be in a voltage free state.
You just need a small screwdriver for the installation.
Regarding the installation, it is not necessary to solder, to mill or to break lines.
You can switch the locomotive back to its original condition anytime.
With a little practice, you just need a couple of minutes to digitize your locomotive.
|
1.
|
Open the housing.
|
|
|
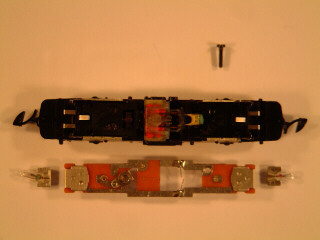
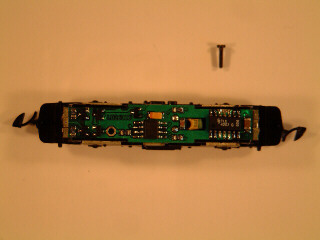
2.
|
Loose the black screw;
remove the two little bulbs;
take off the circuit board.
Keep circuit board and little bulbs in safe custody.
|
|
|
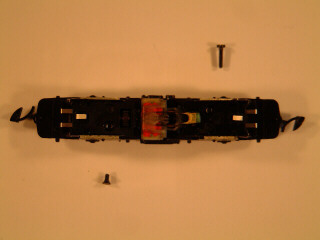
3.
|
Loose the screw which is situated obliquely opposite to the already removed one as well.
|
|
|
4.
|
Screw in the smaller screw in the hole of the just removed bigger screw.
|
|
|
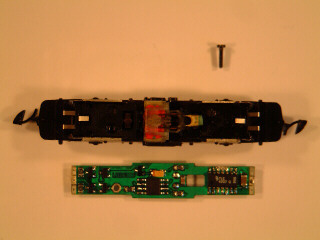
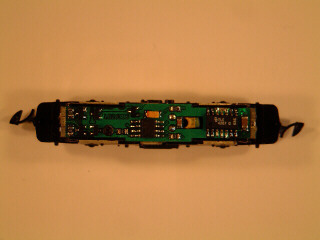
5.
|
Take care of the correct installation direction when fitting in the locomotive decoder.
The decoupling capacitor of the locomotive must be situated.
|
|
|
6.
|
Please note the correct position of the motor connection wires. They must come into contact with the pairs of decoupling capacitor connectors, beiing situated next to the motor collector.
|

|
|
7.
|
The long black screw must be screwed through the hole on bottom-left of the locomotive decoder into the remaining thread of the mainframe.
|
|
|
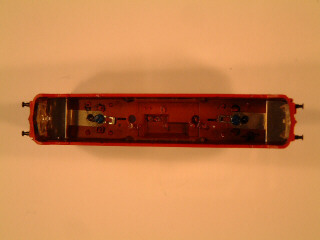
8.
|
Press-on the contacts for the contact wire in the housing cover, so that they dont touch the circuit board.
If there should be plastic heads jutting into the housing, shorten them.
|
|
|
9.
|
Before you shut the housing make sure that the motor connection mustnt be short-circuited or touch any parts of the mainframe.
|
|
|
|